
Salon-quality blowout hair at home is no easy feat and fairly enough, a professional salon would do the work better without you having to tug at your hair. Yet, you do not need to step into a salon to achieve that salon-quality blowout.
Why is Blowout Necessary
You possibly could have had your hair done at one time without doing a blowout, however, nothing trumps the effect of the blow-dryer. In fact, you don’t need to use other heat tools like curlers or flat irons to achieve stunning hair, manageability and style after a blowout makes it highly appealing to many women. Blowout at home is not just the word—it is a technique that follows procedures which is easy to follow in the comfort of your home.
The Reality of Blowouts
Heat-styling like blowouts is not entirely bad. However, there's a catch for those who have poor hair health or do them frequently. In such cases, blowouts may cause severe almost irredeemable damage. Picture a hair of weak and brittle strands being subjected to much air under high temperatures. Great? Definitely not! It would help to know these realities before opting for blowout hair. Plus, a DIY blowout done with carefulness could be much safer. Let's find out long-lasting blowout tips that salon professionals know, and get started.
Blowout Hair Essentials
If this is your first blowout at home or you want to gain more experience, then start by gathering the right tools and products that suit your hair type. You do not want to create a mess with your own hands.
We urge you to read the latest guide on Heat Styling Woes and Their Solutions.
Basic Tools You'll Need
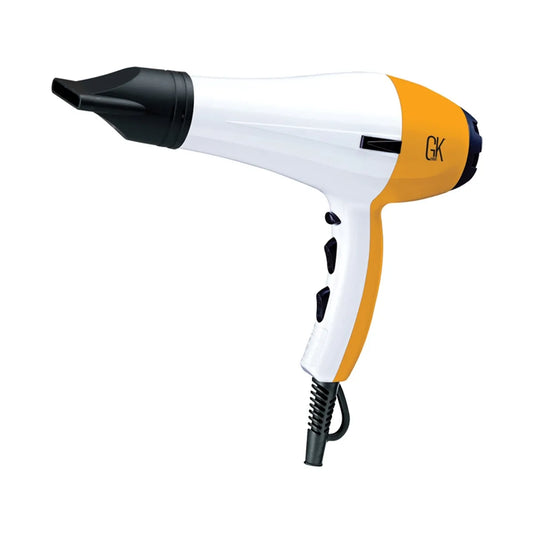
Blow-Dryer- Select one with a good heat regulator and concentrator nozzle attachment. We recommend GK Hair's Feather Light Blow Dryer for this.
Round Brush- A Round Brush is a second top essential for smoothness while you blowout hair.

Hair Clips- Shark Clips provide an easy grip and are snag-free. It helps to section your hair while it is being worked on.
Wide-Toothed Comb- You'll need to detangle knots while you prep your hair for an effective blowout.
Hair Care Products
Specific-Type Shampoos- You've got a shampoo you use for your hair care routine? That works best for a simple blowout at home. A Balancing Shampoo can ensure pH balance, GK Hair's Moisturizing Shampoo for more hydration, a dry shampoo for oily hair, and a Shield Shampoo for colored-treated hair.
Conditioner- Use one that hydrates and protects your hair. There are many options but be specific to check for labels that meet your hair needs.
Serum Oil- Go for a plant-based lightweight formulated oil.
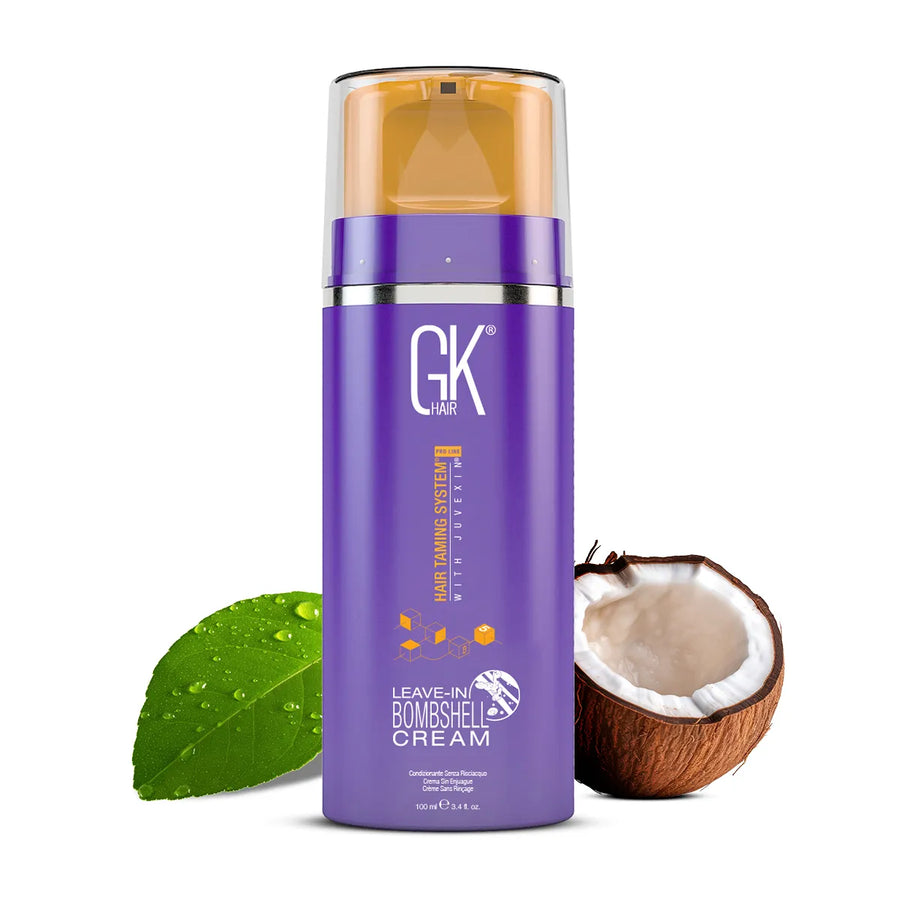
Hair Cream: Adds a final touch and seals in all the work. Cashmere Cream for coarse hair, Leave-In Bombshell Hair Cream for blondes or colored hair.
Texturizing Spray: Gives texture to limp hair. For more boost and luster, GK Hair's VolumizeHer Spray at roots does finer work.
Deep Conditioning Hair Treatment: Though optional for a blowout, it could come in handy when prepping. And you could choose to treat hair with a weekly Deep Conditioning Mask.
Easy Blowout Steps at Home
Step 1: Wash Your Hair
The best blowouts are made when the hair is near and wet. Even professionals will usually prep the hair with a shampoo as a foundation to work on. As always, your choice of shampoo matters, so be careful to choose those that are free from sulfates and silicones. The science of it is that silicones weigh hair down and sulfate strips hair of oil. But, if you have fine, thin or medium hair, you should consider a Volumizing Shampoo instead for more texture.
Step 2: Prep Your Hair
Do you desire that gorgeous, show-stopping blowout hair? Then, providing the right base using the right ingredients should be a top priority. Prepping is done to limit the direct effect of heat on the scalp and lengths. First, soak up a lot of moisture after shampooing with a microfiber towel or air-dry hair for a few minutes. Then, spritz GK Hair’s Leave-In Conditioner Spray to ease the detangling process.
Step 3: Rough Dry Your Hair
Styling is most appropriate when hair is damp. This does a finer hold for any style you wish without breaking or pulling on your scalp—which may result in hair loss. We like the upside-down blow-drying effect, like how the hairstylists do it. Don't blow-dry completely; 80% is just fine and watch your roots gain more lifts.
Step 4: Section Your Hair
With your comb and shark clips, section your hair into 4 manageable parts as it will make it easier for you.

Step 5: Begin Section by Section
Unpin a section, place the round brush just beneath the hair, close to the roots and direct the blow-dryer straight up. Move the brush in a slow motion towards the ends simultaneously with the blow dryer. Again, roll the hairbrush to the roots and pull alongside the blow dryer to the hair tips until fully dry.
Pro-tip: Point the concentrator nozzle downward towards the tip of your hair to untangle knots at the end.
Step 6: Blast With Cold Air
After each section, turn on the cold air feature of your blow dryer and lock in with cold air.
Step 7: Finish Up
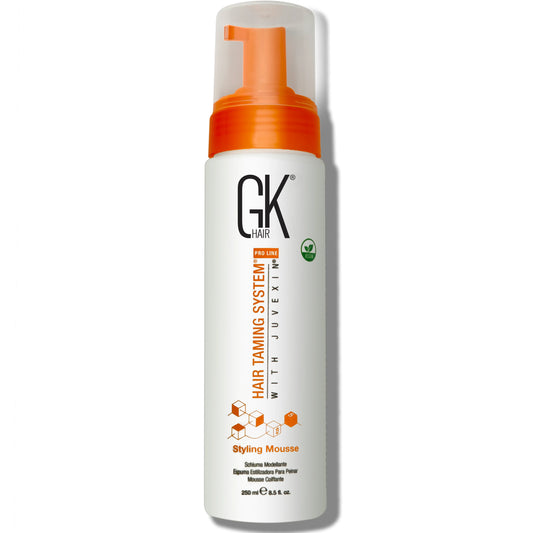
To make your blowouts last longer, apply a lightweight serum like GK Hair's Argan Oil Serum or a few spritz of hair mousse to hold style and give extra shine.
Bottom Line
Many people have achieved gorgeous hair blowouts without sitting in a salon chair. Blowouts at home might take tired arms, knots and tugging, but you'll have achieved luscious, full and fluffy strands that scream gorgeous and effort with GK Hair's Products and Tools.


Leave a comment