


A round brush blowout is a blow dry done section by section over a cylindrical brush, using the barrel to hold tension while warm air smooths the cuticle and the roll sets the shape. It is how salons build lift at the root and a polished bend at the ends in one pass, and it takes 20 to 30 minutes at home once the hand positioning becomes automatic.
The technique comes down to three things: the barrel size you choose, the bristle material that grips your hair type, and keeping the dryer and the brush moving together. Get those right and the result holds for days. This guide covers all three, step by step.
What Is a Round Brush?
A round brush is a cylinder-shaped brush used to volumize, shape, and polish a blowout. The barrel creates tension that smooths the hair’s cuticle layer while the bristles hold the hair as you pull and rotate through each section from root to tip. The round brush blowout technique combines that shaping power with heat to lock in the exact look you want. GK Hair is trusted by professional stylists in over 75 countries, and this guide reflects salon-tested techniques adapted for at-home styling.
How to Do the Perfect Blowout with a Round Brush (Step-by-Step)
Here is how to do a blowout with a round brush at home, from prep to the finishing touches.
Step 1: Start with Clean, Towel-Dried Hair
Start with clean, freshly washed hair. Gently pat it with a towel to remove excess moisture, avoiding harsh rubbing that causes frizz and breakage. Damp hair is the ideal starting point for blow-drying because it is easier to style and less prone to heat damage than soaking wet strands.
Step 2: Apply Heat Protectant and Styling Products
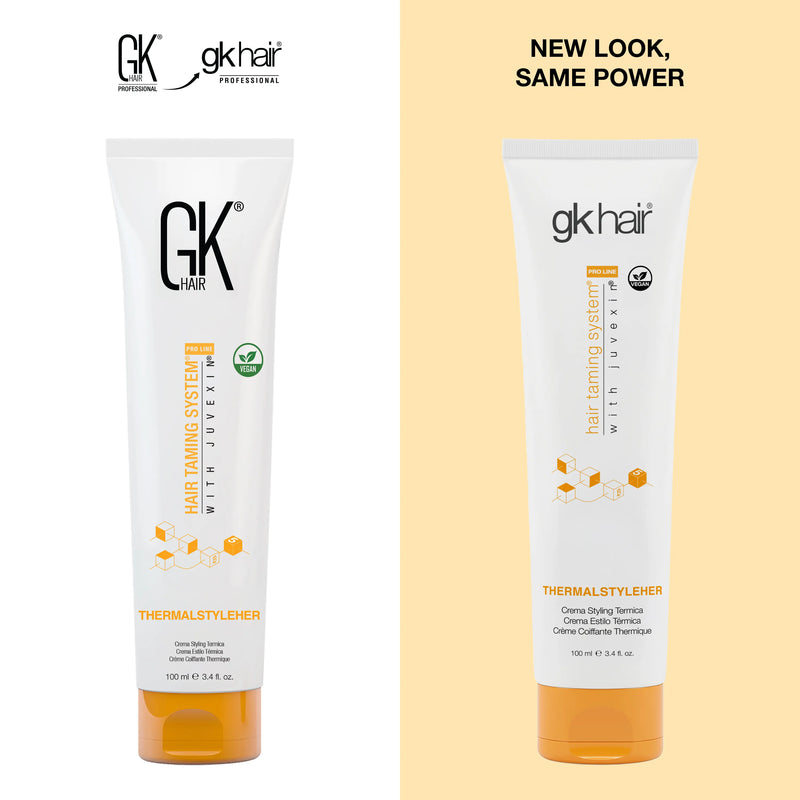
Apply a heat protectant cream evenly through your hair before any heat touches it. If you want extra volume or more hold through the day, layer a volumizing mousse or styling cream underneath. We recommend ThermalStyleHer Cream, best for all hair types that use hot tools regularly. It shields the hair from heat styling while smoothing the strand, so it cuts drying time as well as damage. Apply it to damp hair, emulsify it in your palms first, and work it through the mid-lengths and ends before you start drying.
ThermalStyleHer Cream is fortified with Juvexin V2, our plant-based protein derived from quinoa and pea, optimized to repair and strengthen hair from the inside out. That matters on a blowout day. You are putting heat on the strand, so the protein works alongside the heat barrier rather than simply coating over it.
Step 3: Rough-Dry to About 80 Percent
Before you pick up the round brush, dry your hair with the dryer alone until it is roughly 80 percent dry, damp to the touch but no longer dripping. Use your fingers to move the hair around and keep the nozzle moving.
A round brush only sets a shape once most of the water has gone. Brushing soaking hair means repeating passes over the same section, which is more heat exposure for a worse result. Start brushing when the hair feels cool and slightly damp, not wet. This one change usually cuts a first blowout attempt down by ten minutes.
Step 4: Section Your Hair
Grab your comb and clip the top half of your hair up and out of the way. Always start with the bottom sections and work your way up so every strand dries evenly. Working section by section prevents the rushed, uneven results that come from tackling too much hair at once.

Step 5: Begin Blow Drying
Attach the concentrator nozzle to the dryer first. This attachment lets you direct the heat where you want it while keeping the airflow concentrated on your brush. It smooths the hair cuticle to reduce frizz and adds shine. Hold the dryer about 6 inches from your head and keep it pointed downward to smooth the cuticle. Research published in the Annals of Dermatology found that, although a dryer roughens the surface more than air drying, drying at roughly this distance with continuous motion caused less damage overall than letting hair dry naturally, so distance and movement matter more than avoiding the dryer altogether.
Start at the roots by placing the round brush under a small section of hair, then pull upward while directing the airflow at the brush. As you pull the brush down the length of the hair, follow it with the dryer while rolling the brush slightly to create tension and smooth the strands.

Tip: Hand positioning is crucial for a polished result. Keep the dryer in your dominant hand and the brush in your non-dominant hand at all times. For stubborn sections that will not hold a style on the first pass, use your free fingers to lightly grab that section and pull it back underneath the dryer. This second pass distributes heat evenly and creates more hold.
Step 6: Add Volume at the Crown
For extra volume at the crown, pull the hair upward at the roots while blow-drying instead of downward. This lifting technique creates volume that lasts all day and gives your blowout that coveted salon bounce.
Step 7: Focus on the Ends
Once the mid-lengths are dry, roll the ends around the brush, either loosely to create a bend or a full 360 degrees for a soft curl. This adds the polished, professional-looking finish to your blowout. If you want the ends to flip inward or outward, rotate the brush in that direction while drying.
Stylist’s Corner: Check your tension before you release a section. GK Hair stylists test it with a gentle tug against the brush. The section should feel secure and lift slightly away from the scalp, never painful. Too loose and the barrel never flattens the cuticle, so the section dries rough no matter how long you hold it there. Too tight and you fight the brush the whole way down. If a section keeps slipping out, the section is wider than the barrel. Take less hair rather than gripping harder.
Step 8: Cool Shot to Set the Style
Once a section is dry, press the cool shot button on your dryer to set the style. Hold the cool air on the section for a few seconds to lock in smoothness and shine.
Step 9: Repeat for All Sections
Repeat the process on every section until you reach the top of your head. Taking your time prevents the frizz and uneven results that come from rushing through the back sections.
Step 10: Finishing Touches
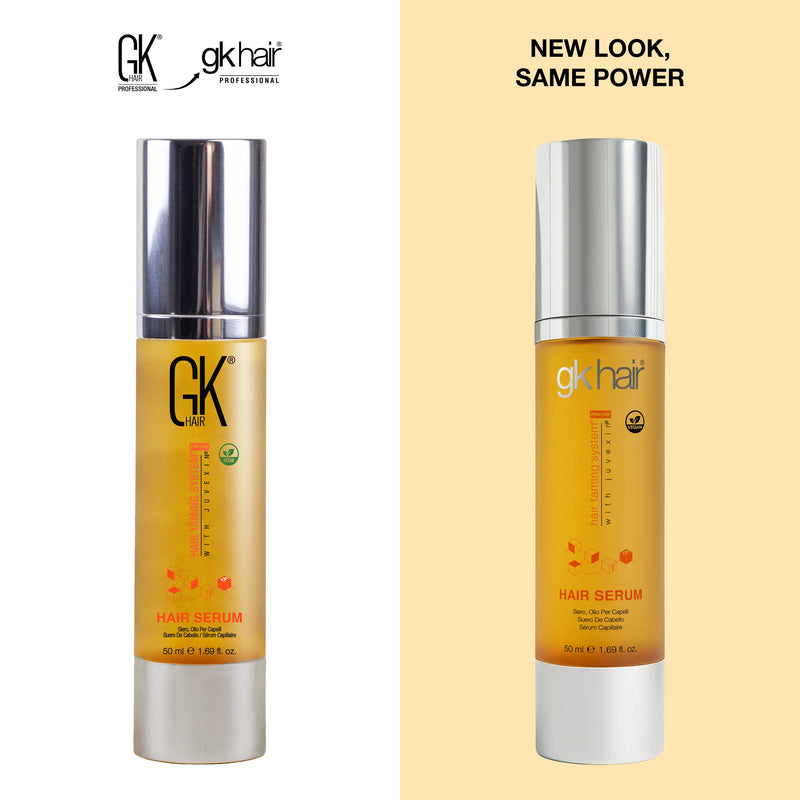
After drying, smooth any remaining flyaways with two drops of Argan Oil Serum warmed between your palms and pressed over the mid-lengths and ends. It is best for all hair types wanting shine and flyaway control without weight, and a small amount goes a long way on a fresh blowout. If you need extra hold, finish with a light mist of flexible-hold hairspray.
How to Make a Round Brush Blowout Last
A round brush blowout holds for three to four days when each section is fully cooled before you touch it. Heat leaves the hair pliable, so brushing, tying, or running your fingers through a warm section drops the volume you just built. Give the whole head five minutes at the end before styling it further.
Sleep on a silk or satin pillowcase, or pin the length into a loose bun on top of your head. Cotton creates friction against the cuticle overnight, which is what turns a day one blowout into day two frizz.
Keep steam away from it. Wear a shower cap and run the bathroom fan before you shower rather than after.
Refresh the roots on day two or three with dry shampoo, then re-roll only the front sections on a low heat setting. Restyling the whole head is rarely necessary.

Choosing the Right Round Brush
The best round brush for blowout results comes down to two decisions: what the barrel is made of, and how wide it is. Material sets how heat moves through the brush and how well the bristles hold your hair. Diameter sets how much shape and lift you get. Get both right and you work with your hair’s natural texture instead of fighting it. The next two sections cover each in turn.
Round Brush Materials: Ceramic vs. Boar Bristle vs. Metal
A ceramic round brush has a ceramic-coated barrel that distributes heat from the dryer evenly across the section, which is what makes it the fastest option for most hair types and particularly useful on thick or coarse hair. Bristles are a separate choice. Boar bristles grip fine or slippery hair better than smooth synthetics and pull natural oils down the strand for shine, so the best boar bristle round brush is the traditional pick for fine hair. Nylon grips well across textures and detangles as you style.
A metal round brush conducts heat from the dryer faster than ceramic or nylon, which speeds up styling but leaves less margin for error. Keep passes short and the heat setting moderate if you use one.
| Material | Heat / Drying | Best For | Finish |
|---|---|---|---|
| Ceramic | Distributes heat evenly; cuts drying time | Most hair types, especially thick or coarse hair | Smooth, glossy, fast blowout |
| Boar Bristle | No added heat; relies on natural grip | Fine, slippery, or hard-to-tension hair | Shine, control, less frizz |
| Nylon | Gentle, minimal heat retention | All hair types; detangles while styling | Smooth and lightweight, less snagging |
| Metal | Heats fastest of all barrel types | Short, controlled passes on a moderate setting | High shine; less margin for error with overuse |
The GK Hair Extra Round Hair Brush pairs a ceramic-coated barrel with nylon bristles, making it best for all hair types, including coarse, curly, and color-treated hair seeking volume and bounce. The nylon bristles are gentle enough for every texture while still providing grip, and it comes in 43mm and 53mm barrels, so one of the two sizes suits most hair lengths without forcing you to buy several.

Round Brush Sizes: Which One Should You Use?
Match the barrel to your hair length: 0.5 to 1 inch for bangs and short hair, 1 to 1.5 inches for fine hair and short to medium lengths, 1.5 to 2 inches for shoulder-length hair, and 2 to 2.5 inches for long or thick hair you want smoothed rather than curled. Smaller barrels shape and lift more, larger barrels smooth faster with a softer bend.
Most round brush sizes run from 0.5 inch up to 2.5 inches in diameter.
- 0.5 to 1 inch for bangs, pixie cuts and short hair. The tightest bend and the most root lift.
- 1 to 1.5 inches for fine hair and short to medium lengths where root lift matters.
- 1.5 to 2 inches, the 43mm range, for shoulder-length hair. Soft waves with natural volume.
- 2 to 2.5 inches, the 53mm range, for long or thick hair being smoothed. Loose waves that frame the face.
What Size Round Brush Should I Use for Bangs?
The best round brush for bangs is a small round brush, roughly 0.5 to 1 inch in diameter. The smaller the barrel, the more control you have over a short, tricky section, and the more evenly the heat reaches it.
Curtain bangs, blunt bangs and side-swept bangs all use the same method. Roll the section up toward your forehead from root to tip, using the hand positioning described in the step-by-step above, hold for about five seconds, then finish with a blast of cool air to set the shape. A small barrel is what gives you the soft forward sweep that flatters most face shapes.
Comparing Round Brushes and Oval Brushes
Choosing an oval brush vs round brush is a lot like deciding between curl definition and volume without curls. A round brush has a tube-shaped barrel that contacts hair all the way around its circumference, producing the most root lift and curl. Oval brushes have a flatter barrel that straightens hair where the brush meets the scalp and bends it where the brush curves, so you get blended straightening and curling in one pass. That makes an oval brush the pick for people who want volume without defined curls. Round brushes are better for creating more dramatic shapes, while oval brushes offer more versatility on mixed textures.
Best Round Brush for Fine Hair
Fine hair needs a smaller barrel and enough bristle grip to hold slippery strands under tension. Boar and boar-nylon blends are the traditional choice, but the deciding factor is section size. Take sections no wider than the barrel and a densely packed nylon brush holds fine hair just as well, with less drag on delicate strands.
The Extra Round Hair Brush in the 43mm size is the pick here. At about 1.7 inches it sits just above the 1 to 1.5 inch range, but it is the smaller of the two GK Hair barrels, and the nylon bristles grip without the pull of a packed boar barrel, so it still builds the root lift fine hair usually lacks. Use it on a low or medium heat setting, keep each section narrower than the barrel, and release each one as soon as it is dry rather than holding it in the brush. Still deciding between a round brush for fine hair and a paddle or vent brush? Our guide on how to choose the right hair brush covers what stylists consider first.
Mastering the Round Brush Blowout
A round brush blowout comes down to matching the barrel to your hair length, choosing a bristle material that grips your texture, and keeping the dryer moving with the brush rather than parked on it. Rough-dry first, work in sections no wider than the barrel, and cool each one before you let it go.
Once you know how to give yourself a blowout with a round brush, everything else is practice. A first attempt will run longer than 30 minutes and the back will be the hardest part to reach. That is normal, and it gets quicker once the hand positioning stops needing your attention.
Ready to build the kit? The Extra Round Hair Brush and ThermalStyleHer Cream do most of the work. Explore our full styling and protection range at GK Hair.
Frequently Asked Questions
Is a round brush the same as a barrel brush?
Round brushes and barrel brushes are the same tool. Both names refer to the cylindrical shape, and the terms are used interchangeably in the styling world. What matters is the size of the barrel, the type of bristles, and the material the brush is made of.
How do I prevent frizz while blow drying with a round brush?
Always apply a heat protectant before blow drying and concentrate the airflow downward as you dry each section to smooth the hair’s cuticle layer. The cool shot at the end of each section helps seal the cuticle, cutting frizz drastically. For extra frizz control, apply a lightweight anti-frizz serum after drying.
How long does a DIY round brush blowout take?
A round brush blowout takes most people 20 to 30 minutes once they know the technique. If you have thick or very long hair, expect it to take 30 to 45 minutes. The more you practice, the quicker you get. Focus on proper hand placement and technique during your first few blowouts to build muscle memory.
Can I do a blowout without a round brush?
Yes. Here is how to do a blowout without a round brush: use a paddle brush or vented brush, which achieves a similar effect with less curl definition. For the full at-home routine and product picks, read our guide on how to do a blowout at home. A round brush remains the most efficient tool for salon-quality blowouts at home.
How do I get my hair unstuck from a round brush?
Stop pulling and turn the dryer off. Unwind the brush in the opposite direction to the way you rolled it, one rotation at a time, and use your fingers to lift trapped hair off the bristles as it releases. If it will not unwind, slide a rat tail comb between the barrel and your scalp to hold tension while you turn. Cutting is a last resort.


Leave a comment